An Artist's Guide to C# in Unity3D: Setting up your learning environment
This article is part of an ongoing series for code-leaning artists who want to learn Unity 3D. In this article I walk you through the steps required to set up Unity on your development computer.
This article is part of an ongoing series for code-leaning artists who want to learn Unity 3D. In this article I walk you through the steps required to set up Unity on your development computer.
Completing this step is required if you want to follow along in the upcoming lessons.
An Artist's Guide to C# in Unity3D
Since we will be learning C# within the context of Unity, it makes sense that the first thing you need to do is to install Unity on your computer. The creators of Unity have made this process very simple to accomplish across all three major operating systems. So whether you’re working on macOS, Windows or Linux, the process is almost identical.
Let's start by downloading a copy of the Unity Hub. This is a central tool that Unity provides to make it easier to install and manage different versions of the Unity Game Engine and other learning assets. It is very similar to Adobe’s Creative Cloud desktop application hub which allows you to manage the installations of all your favorite Adobe programs.
Download and Install Unity Hub
Visit Unity’s store page here: https://store.unity.com
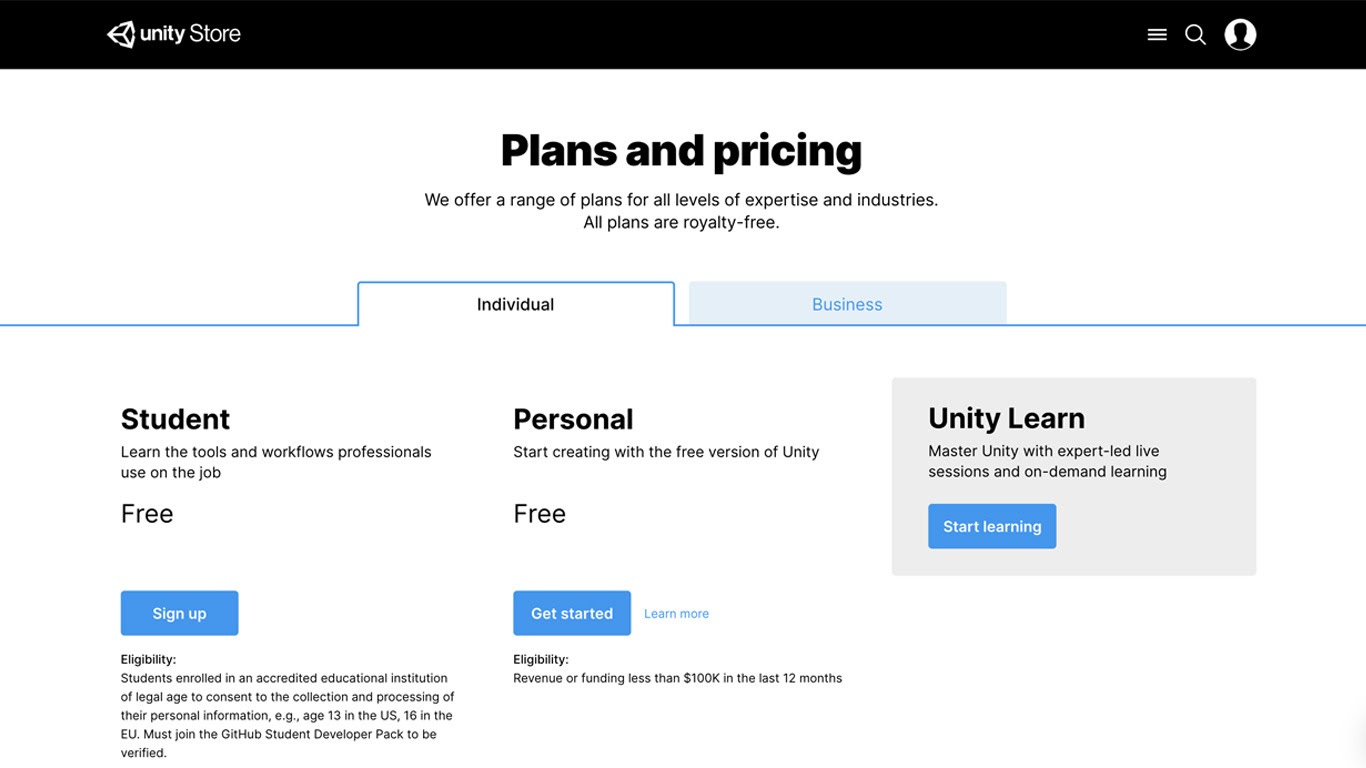
You’ll be on the Plans and Pricing page. Click on the Individual tab and select the Personal option.
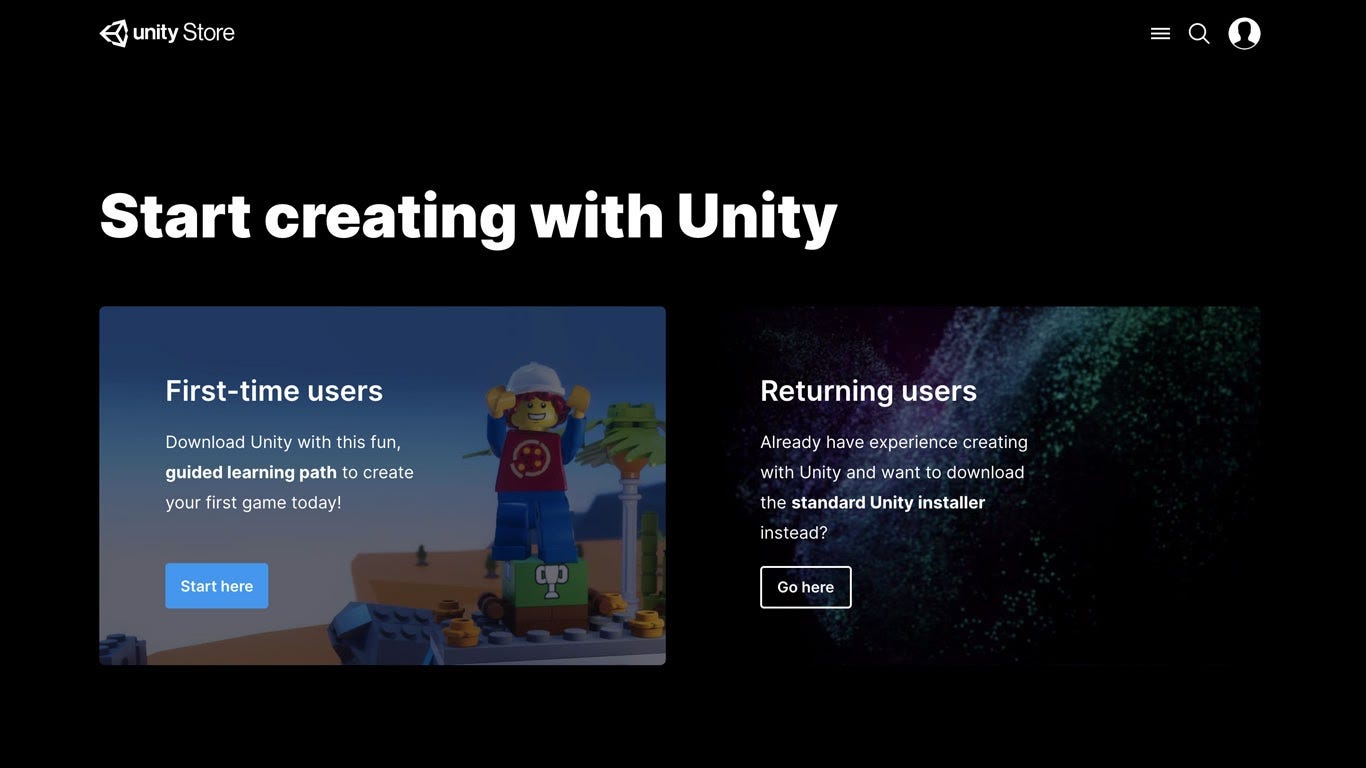
You’ll be prompted to select whether you’re a first-time user or a returning user. Choose the First-time Users option.
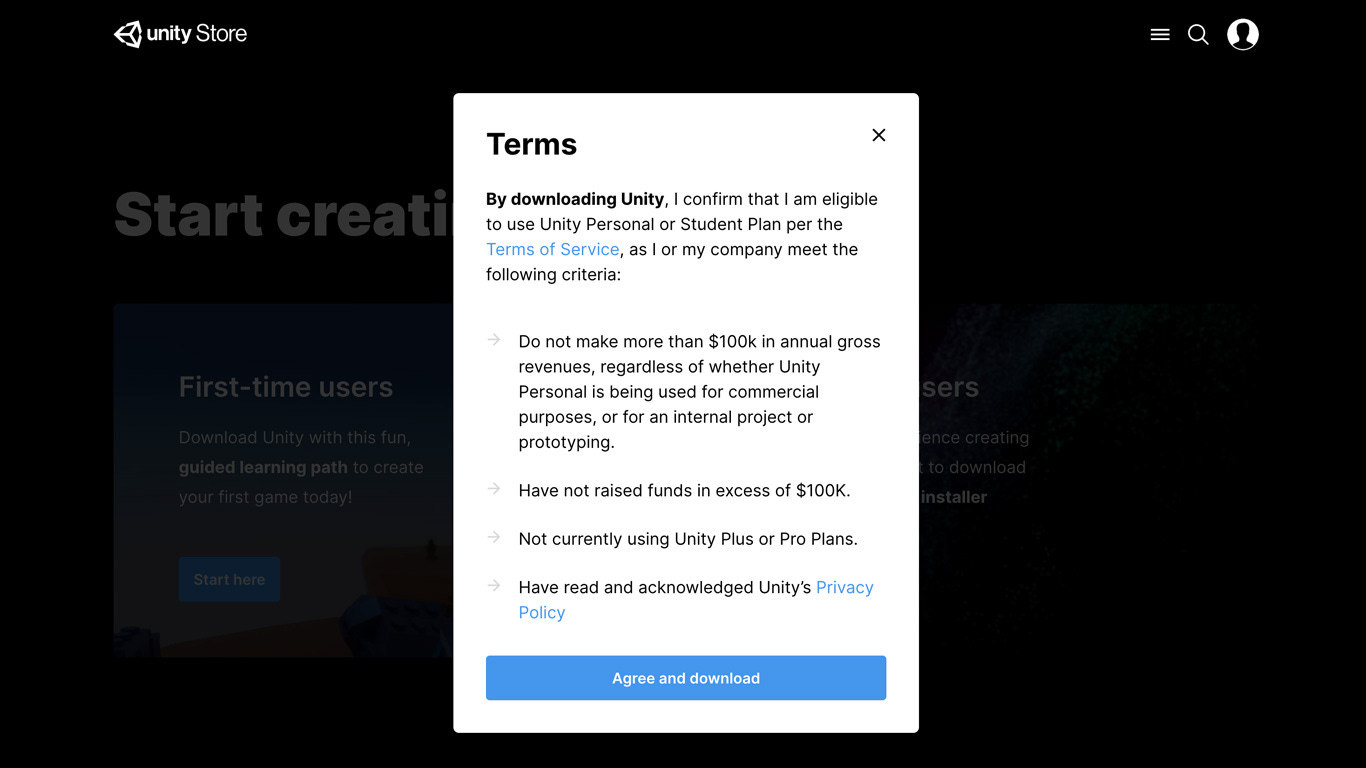
Read the Terms of service pop-up (because you’re just a good citizen) and, if you agree, click Agree and Download.
After the Unity Hub installer has downloaded to your computer, follow your operating system’s standard process for installing it on your machine.
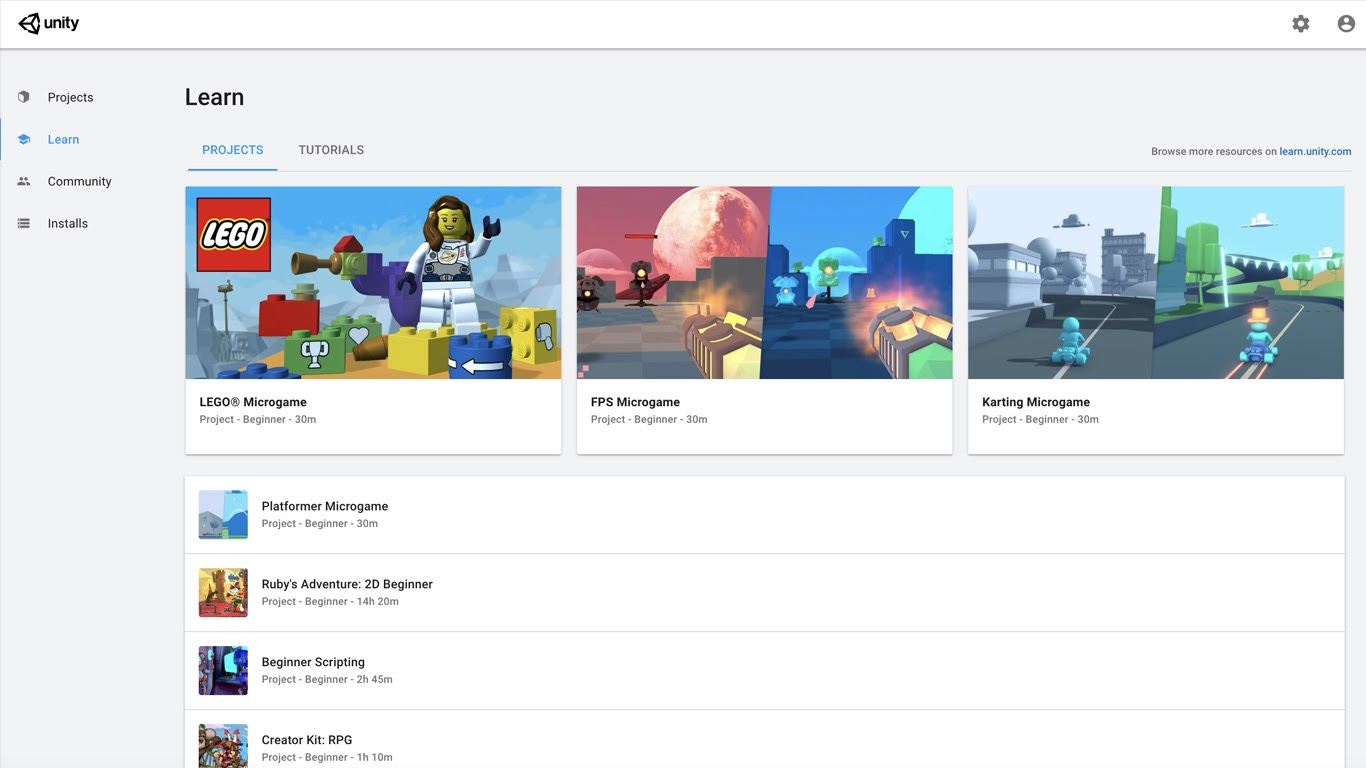
After the Unity Hub installed, go ahead and launch it for the first time.
You should see a screen that looks very much like this:
Next, lets install a version of the Unity Game Engine through the hub.
Install Unity Game Engine
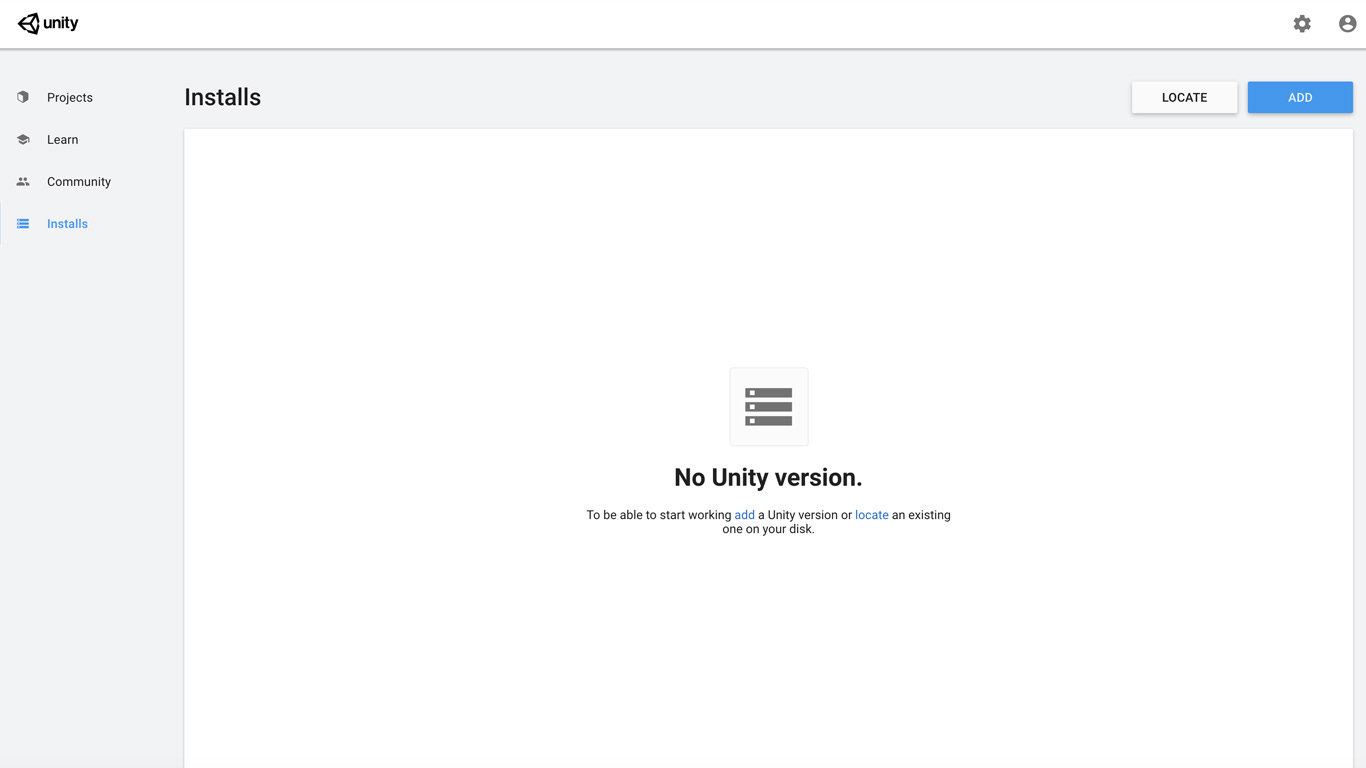
Click on the Installs menu option to take you to the software installs section
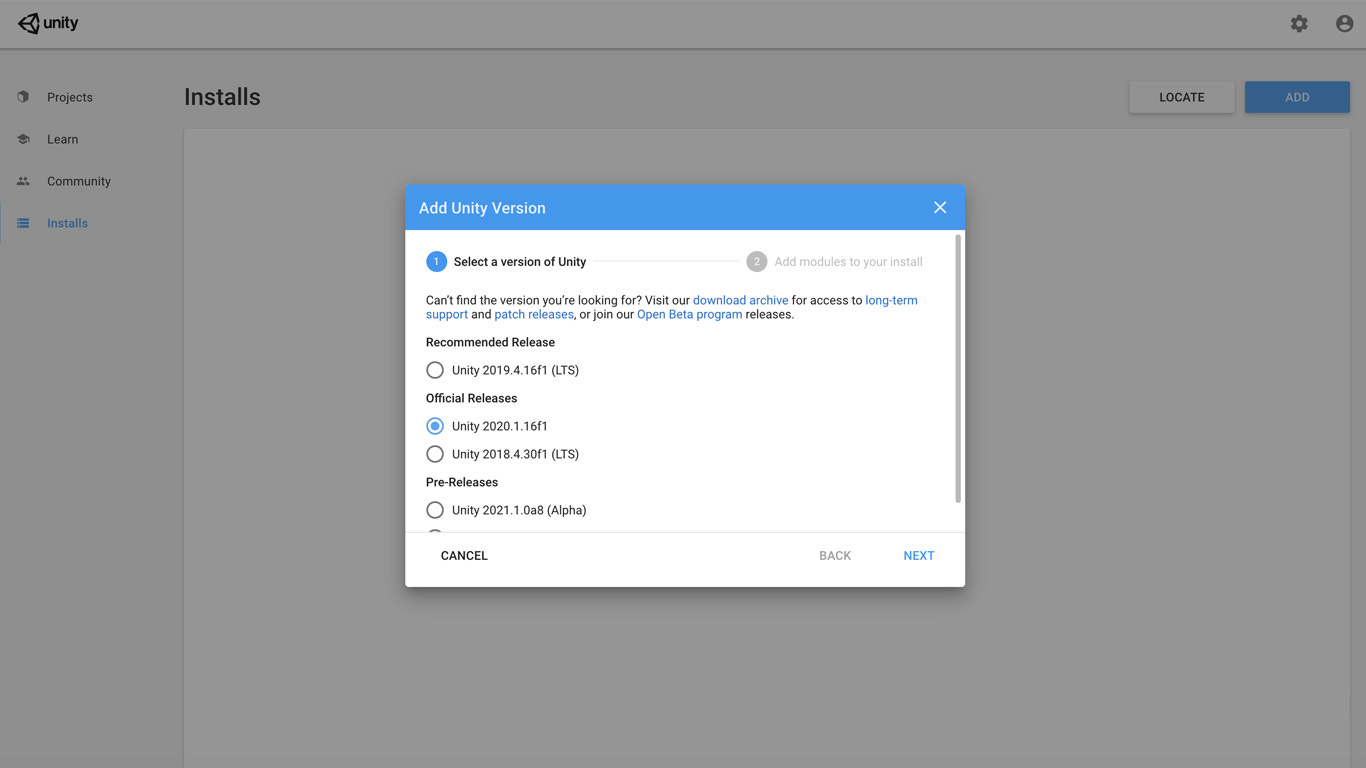
Click the Add button in the top right corner
You’ll be prompted to select the version of Unity you want to install. Go ahead and select one of the Unity 2020.1.xx versions. In my case I selected Unity 2020.1.16f1
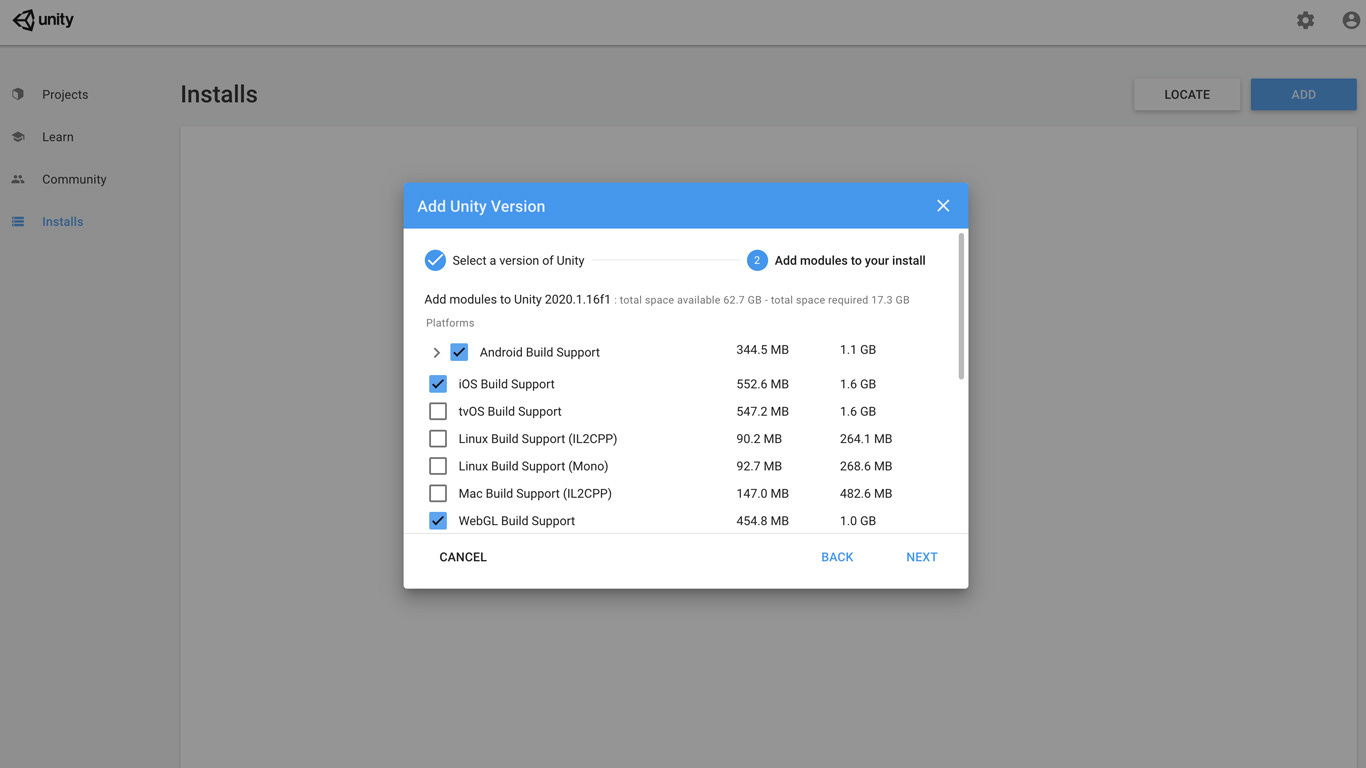
Click the Next button and select at least one of the build target modules you want. These modules will require more space on your computer’s hard disk and will take longer to install. Since they are optional for completing our lessons, feel free to skip them if you want.
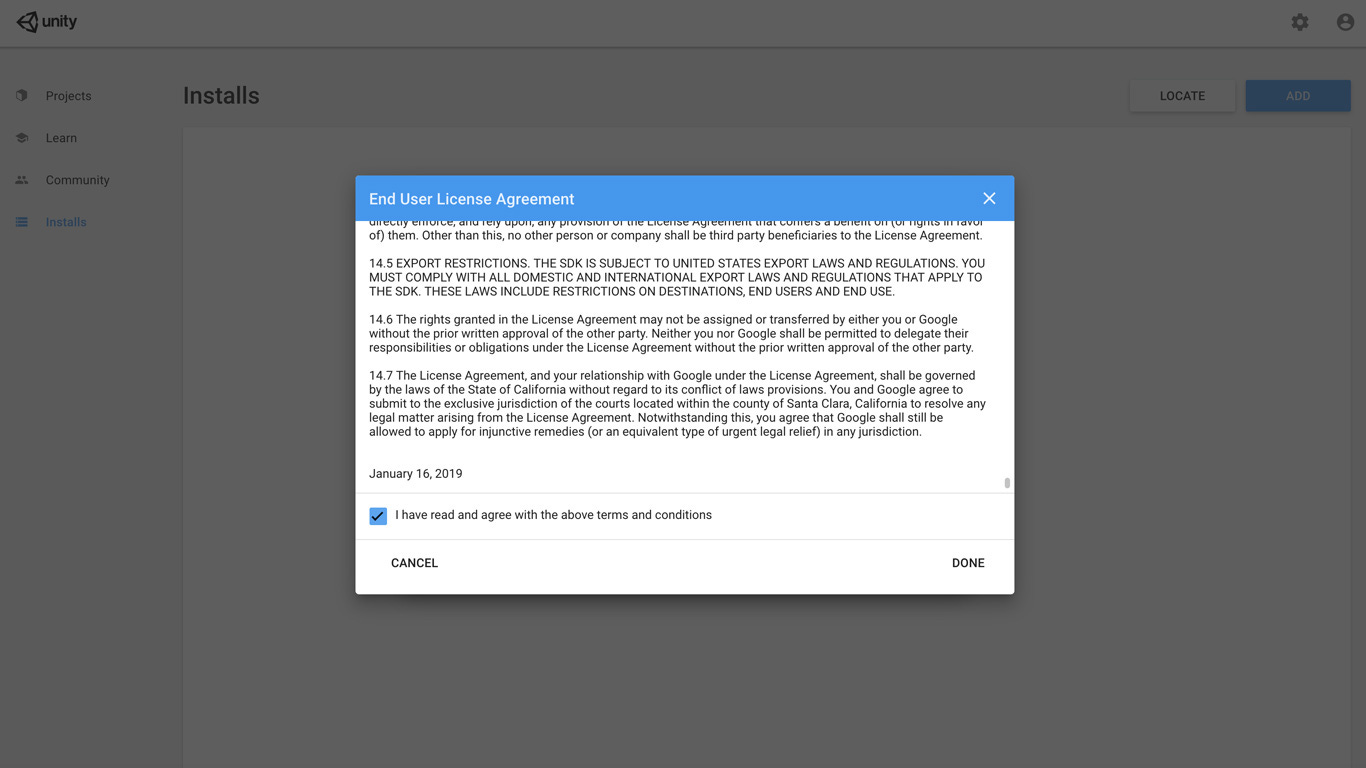
Click Next. Accept any end user agreements if prompted and finally click Done.
Finally, let's create a project we will use for all the upcoming lessons.
Create a project
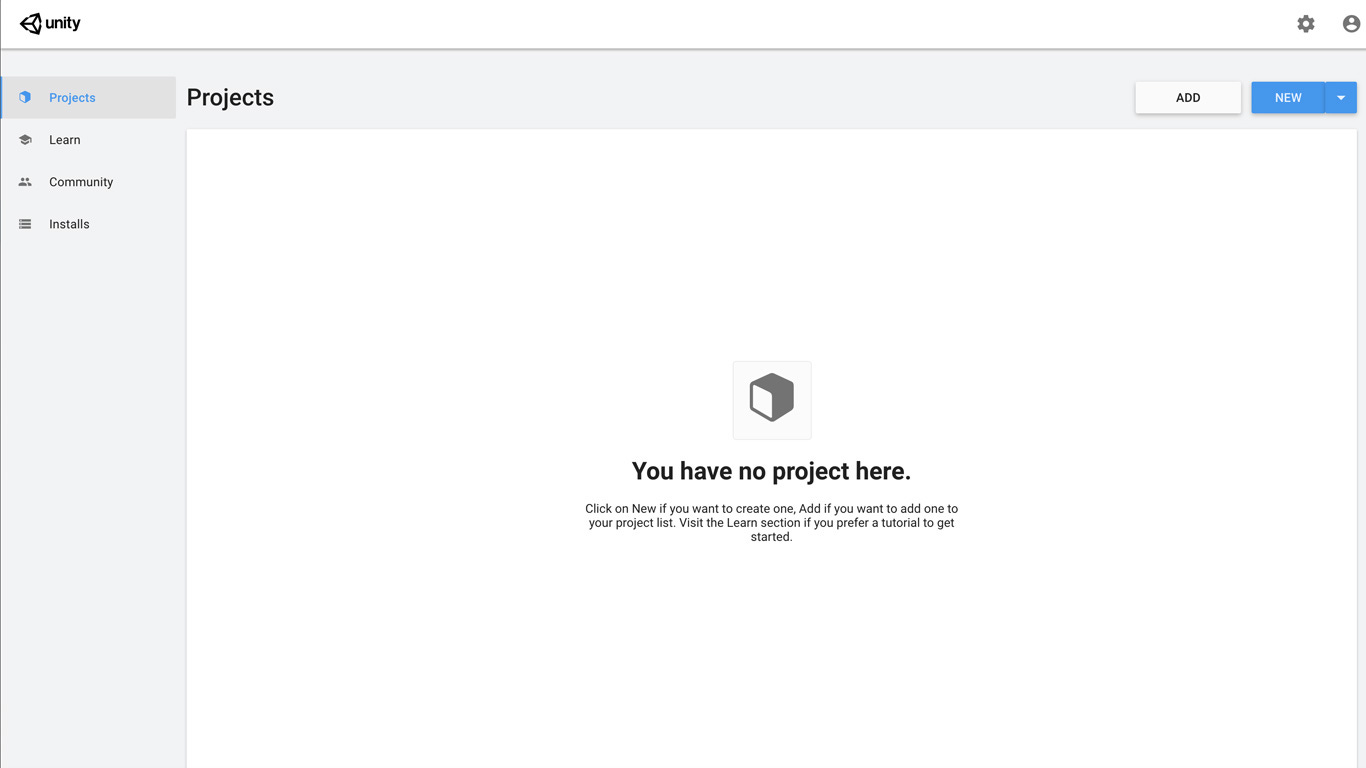
If you’re not already there, click on the Projects option from the menu on the left. You should see a message, similar to the image below, saying you don’t have any current projects yet.
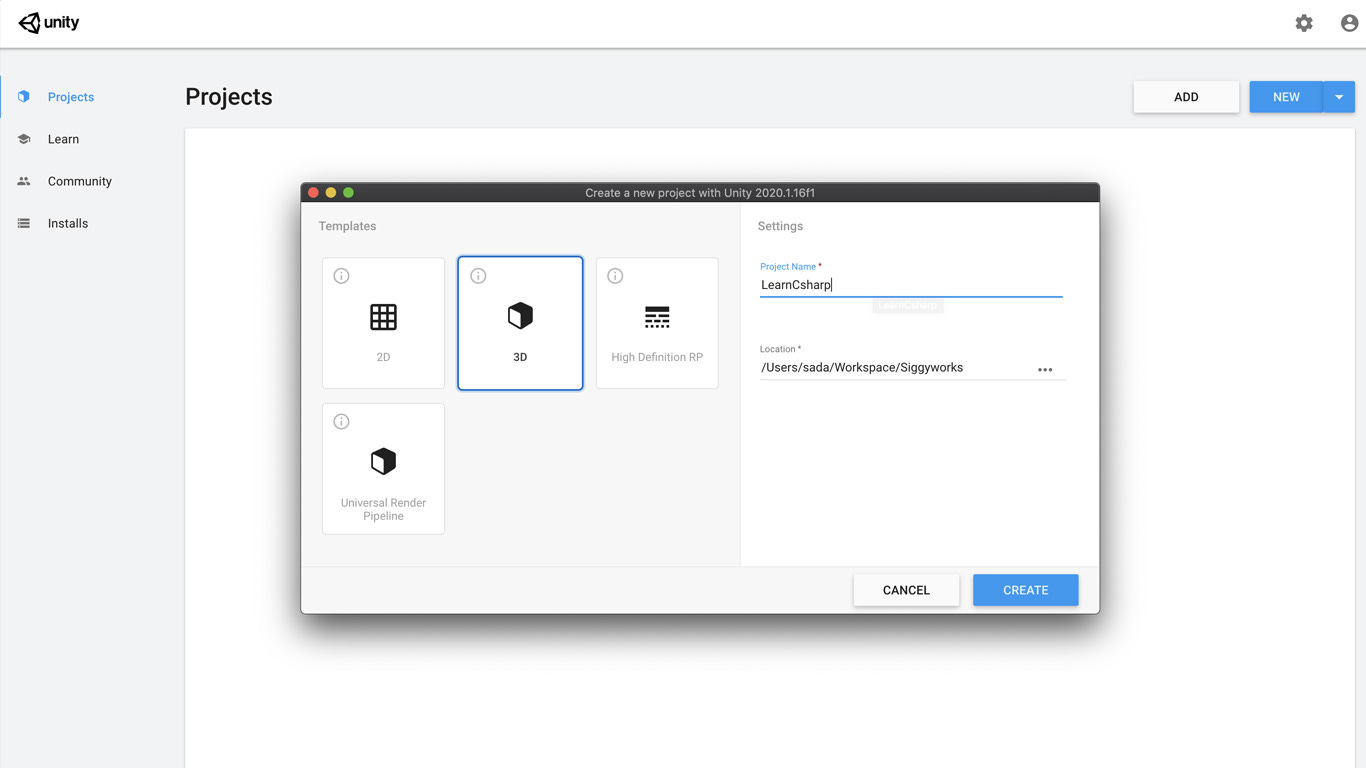
Let's create one by clicking the New button in the top right corner
You’ll be prompted for some project basics like the starting template, the project name and the folder location. Select the 3D option template
Name your project LearnCsharp
Select a folder on your computer where you would like to save the project files, then click on Create.
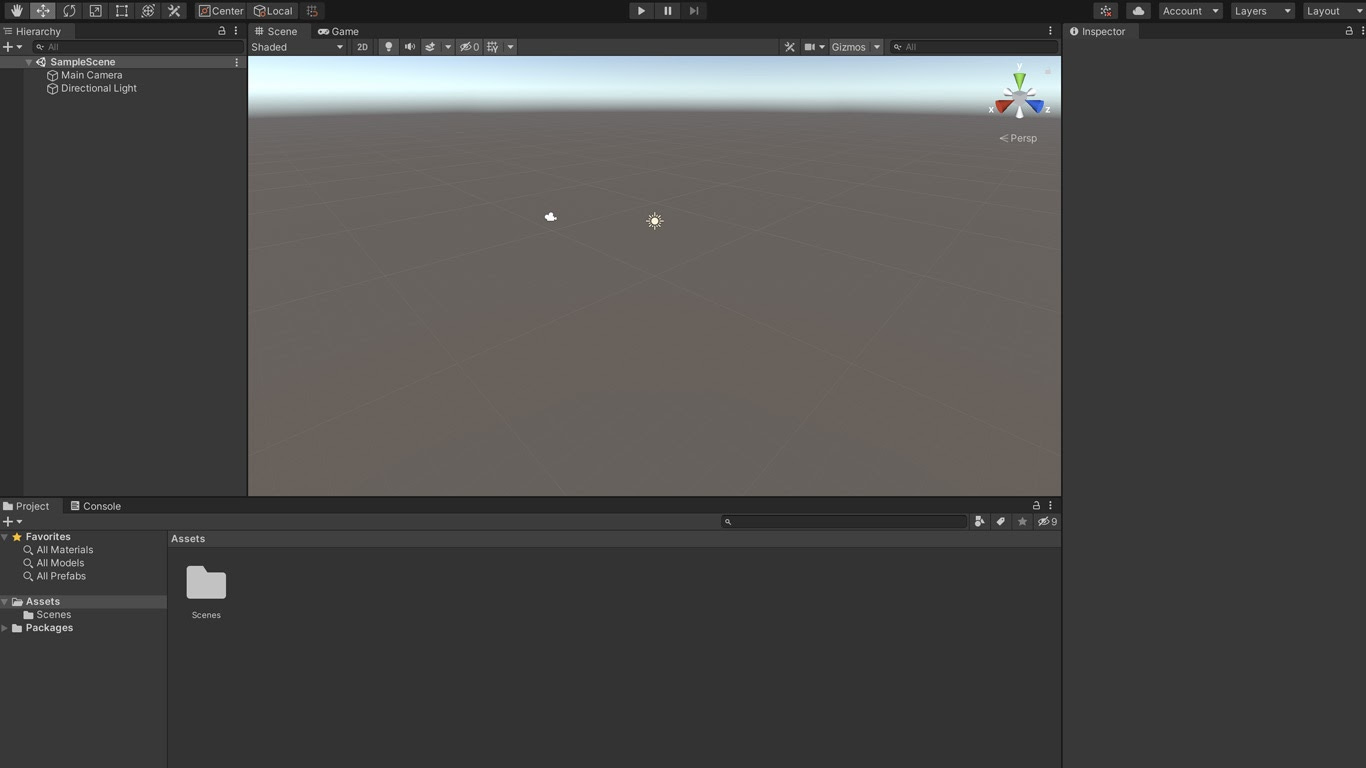
Unity Hub will now spend a few minutes creating and configuring your project. When it's complete, it will launch your new project in the Unity Editor and display a screen that looks something like this:
If you’ve made it this far, congratulations!
You’re all set to learn C# in Unity with the lessons that follow.
For each lesson, open up the Unity Hub and navigate to the Projects section. Launch this project by clicking on the project name in the projects list.
Next: Create your first C# script in Unity
An Artist's Guide to C# in Unity3D


